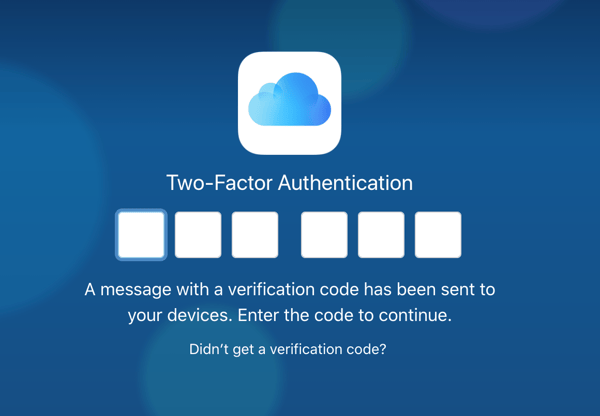
Two-factor authentication is a strategy many companies have begun to utilize to improve data and account security for their users.
The process is simple. You log in to your Apple ID, Gmail or otherwise using your username or email, and password. Some accounts will ask you to answer a security question. Normally, this would mean you’re in.
With two-factor authentication, however, there is a next-step for added cyber security. This next-step can vary depending on the platform you’re trying to access. For Apple ID, the extra security step comes in the form of a code sent to a user’s alternate, authorized device. This can be their iPad, iPhone, etc.
How to turn off two-factor authentication
- Log in to your Apple ID
- Go to security settings and click "edit"
- Find where it says "two-step verification: on" and opt to turn it off
- Confirm your decision
Once Apple has sent you the verification code — which changes every time you trigger two-factor authentication — you enter it into the device you’re trying to access and then you are in!
Two-factor authentication is a good idea because internet security is exceedingly insufficient. There seems to be a new data breach every day that affects things like our Instagram privacy.
But if you’re frequently logging into your Apple ID on Mac and you’d rather remove the added step, let’s walk through how to do so.
How to turn off two-factor authentication on a Mac
Before you turn off two-factor authentication, it’s important to understand how this changes your login process. Without two-factor authentication, only a username and password are needed to access your account. You will not receive a verification code to access your account.

If you forget your username or password, you will be required to answer security questions to regain account access.
With that being said, let’s get started.
1. Open up Apple ID
Begin by going to the Apple ID sign-in page. Log in to your account. You may have to use two-factor authentication to sign in. If you don’t receive your verification code, just click on where it says, “Didn't receive verification code?” and choose an alternate method of delivery.
2. Edit security features
Find the security page. For me, it is on the page I am taken to as soon as I log in. Underneath security, find and click the “edit” button.
3. Turn off two-factor verification
Underneath “two-factor verification,” you’ll see where it says “turn off two-factor verification.” You will see the pop-up window below asking you to confirm if this is what you’re meaning to do.
If this is what you would like to do, then click on “turn off two-factor verification.”
4. Create new security questions
Because you’ll be using security questions in the event of a forgotten username or password, you’ll want to create new ones. Make sure you choose security questions and answers you will remember.
You’ll also be required to verify your date of birth, as well as determine a rescue email. The rescue email is different from your iCloud email. In order to verify the rescue email, you'll have to enter a code that is sent to this email. Essentially, you'll have to use two-factor verification to remove two-factor verification.
Once you’ve completed these three steps, you’ll get an email verifying the feature has officially been turned off.
Verifiably easy
That wasn’t so bad, was it? Remember that you can easily turn it back on at any time by going back to the “settings” section within your iCloud account.
 by Washija Kazim
 by Grace Pinegar
 by Grace Pinegar