Whether you’re taking a voice lesson, interviewing your role model, or trying to send a guitar riff to a friend, it’s helpful to have a decent audio recording device.
You may not know this, but your Mac computer can serve as a type of audio engine!
How to record sound on your Macbook with QuickTime Player:
- Open QuickTime Player
- Select “file” and “new audio recording”
- Press the red “record” button
- End recording by pressing the same button
- Rename and save the recording to your desktop
In this article, I’m going to walk you through the various audio recording tools on your Mac. There are a couple of different resources, none inherently better than the others, and you get to choose which one you prefer.
How to record audio on Mac
Is it time to become serious about your music career, or YouTube channel? Then you may need a device to help out with audio recording. Even if you have a camera or smartphone, knowing how to record audio on your Mac is a great backup strategy in case one of the other options falls short.
Let’s discuss a few different ways to record audio on your Macbook.
Voice memos
You’re probably familiar with voice memos because this app exists on most apple iPhones, as well. To access it on your Mac, open the launchpad - the button with the rocket ship symbol on it.
1. Open voice memos
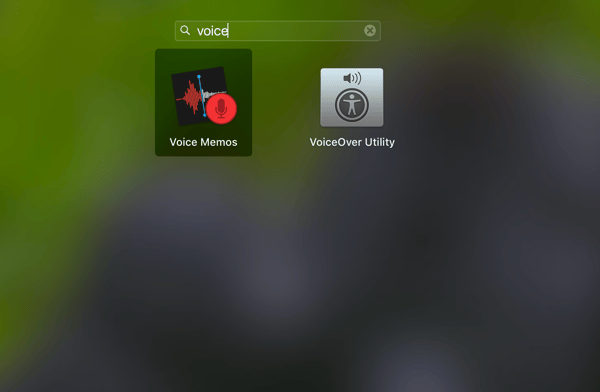
You can either find the “voice memos” app by looking through the apps that pop up, or by searching for it in the search bar at the top. The icon will look as below. Select this icon to open the app.
2. Record voice memo
The voice memo app will open, providing you with a simple screen that really only features one button: the red “record” button. When you’re ready to begin, press this button. There is no confirmation screen; the recording will immediately begin.
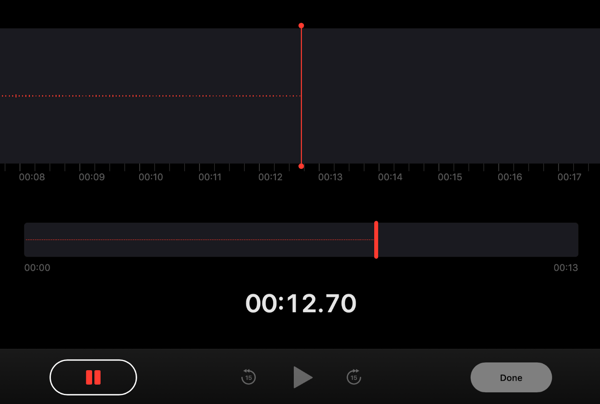
To pause the recording, press the pause button in the lower left-hand corner. You can press “resume” to begin again. While paused, you can also press “play” to listen to what you’ve recorded so far.
3. Complete the recording
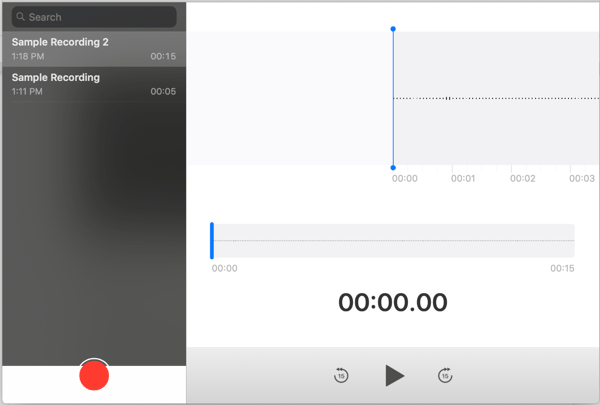
Once you’ve finished the recording, press “done” in the bottom right-hand corner. This will automatically save the recording in the app. As you can see, I now have two recordings in my library on the left-hand side of the screen.
Quicktime
You’re probably familiar with Quicktime player because it’s often the default player for any downloaded video or image. But a little-known fact is that Quicktime can also be used for audio recording.
Let’s go through the simple steps of how to use Quicktime as an audio recorder on Mac.
1. Open QuickTime
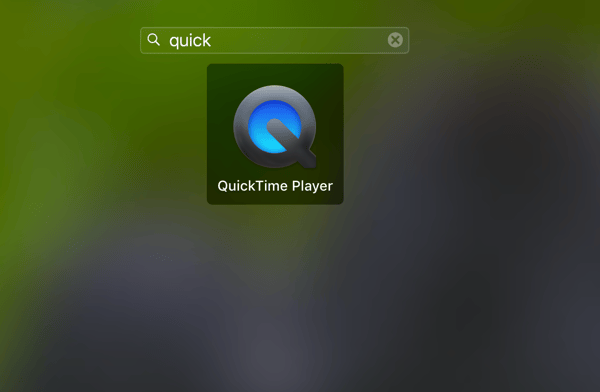
Begin by opening the QuickTime player. QuickTime is more than likely already downloaded onto your device. Simply open the launchpad (the icon with the rocket ship that sits in your quick menu), and either manually find or search for QuickTime in the search bar.
2. Select “New Audio Recording”
Once the QuickTime Player icon appears, the player is technically open. Right click the icon in the bottom of the screen and select “new audio recording.”
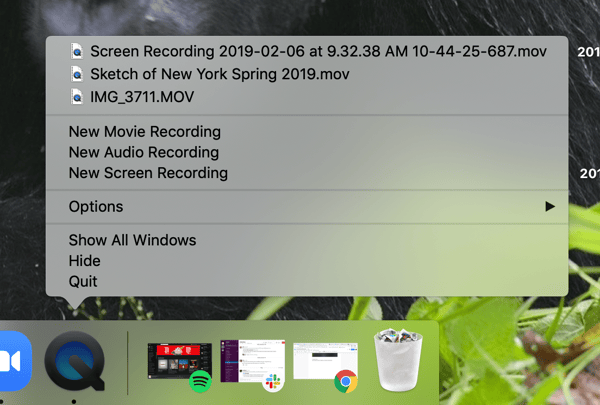
Another way to do this is to ensure the QuickTime Player is selected, then go to “File” at the top of your screen and select “New Audio Recording.”
3. Record audio
QuickTime will open a tiny, tiny window for audio recording. Again, the only option you have is to hit “record” via the red record button in the middle of the screen. Select this when you are ready to record.
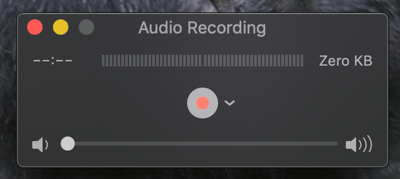
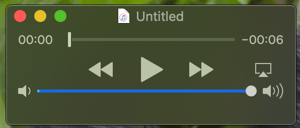
The recording will begin immediately. Once you’re done, select the “stop” icon. There are no options to pause the recording. When you stop the recording, it will exist without a title as an m4a file. Be sure to save and edit the title so you can find it later.
|
Want to take it a step further? Edit your recording with audio editing software.

|
You learned in record time
See? That wasn’t so hard. Now you’re ready to take your Mac to your next voice lesson or jam session. Or you could just buy a handheld voice recorder, which might make traveling easier. But either way, you now know how to use your Mac as a viable recording option.
Just stay away from GarageBand unless you’re actually trying to mix your own songs and such; that app is not something I know how to walk you through!
Interested in other recording strategies? Learn how to record a podcast, plus the four things you need to make it happen.
 by Maddie Rehayem
 by Grace Pinegar
 by Izabelle Hundrev